Social Media Photo Tips for Beginner Content Creators
Scroll through your feeds right now, and you’ll notice something: the social media photos that stop you mid-scroll aren’t accidents. They’re strategic, intentional, and crafted with specific principles in mind.
Whether you’re a small business owner trying to showcase your products, a content creator building your personal brand, or an entrepreneur who knows you need better visuals but feels completely overwhelmed by photography, this guide is for you.
Here’s the reality: you don’t need a fancy camera, a photography degree, or a massive budget to create scroll-stopping photos that drive engagement and conversions. What you do need is an understanding of fundamental principles like lighting and composition, knowledge of what each platform actually rewards, and a systematic approach to creating and editing content efficiently.
In this comprehensive guide, I’m breaking down everything from the psychology behind great social media photos to platform-specific optimization, essential equipment (spoiler: your smartphone is probably enough), editing workflows that save you hours, and the common mistakes that are sabotaging your content without you even realizing it.
By the end of this post, you’ll have a complete roadmap for creating professional-quality social media photos that don’t just look good—they perform.
Let’s get into it ⬇️
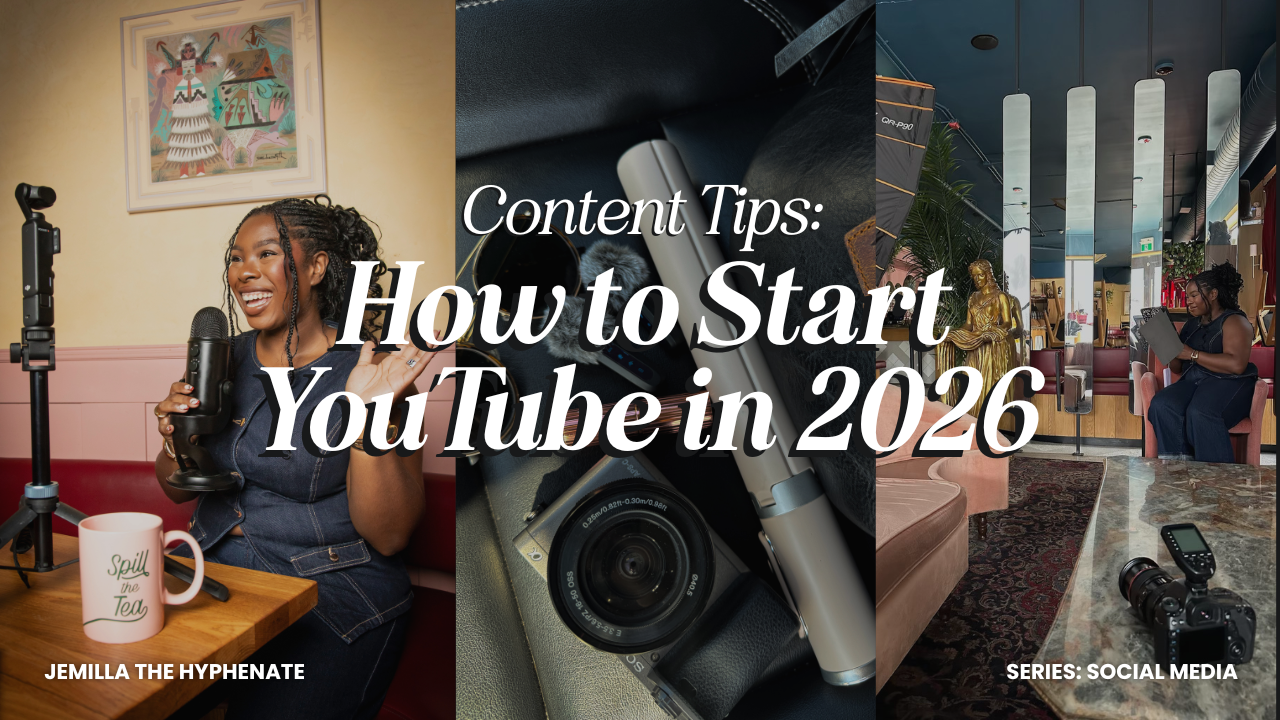
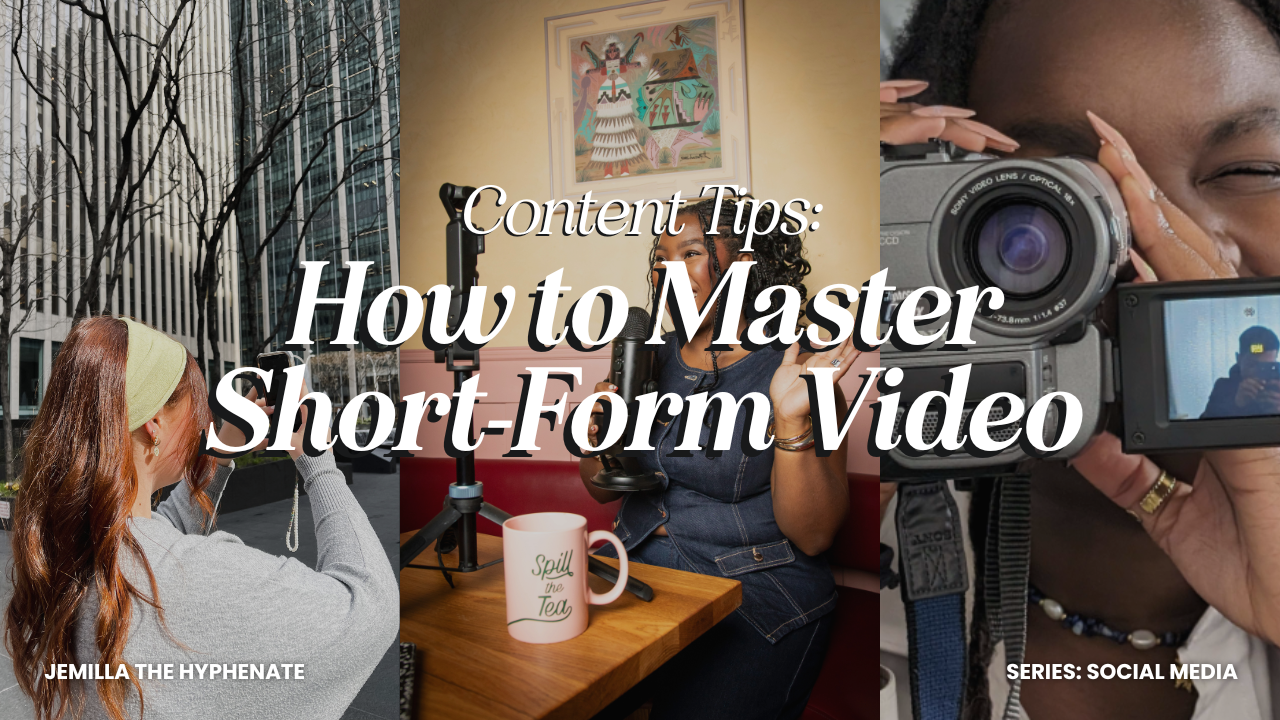
Prefer to watch instead of read? I have a YouTube video on the same topic that you can stream now!
Understanding Visual Storytelling
Photos still matter because they’re quick to consume, easy to save, and perfect for certain types of content. The key is understanding when to use photos and how to make them scroll-stopping in a sea of content.
Great social media photos either educate, entertain, or evoke emotion in the split second someone is scrolling past. That’s it. If your photo doesn’t do one of those three things immediately, it’s invisible.
Different platforms prioritize photo content differently. Instagram still loves high-quality photos in feeds and carousels. Pinterest is entirely built on visual discovery. LinkedIn loves professional photos.
Photography Basics
You don’t need to be a professional photographer to create stunning social media photos. But you do need to understand a few fundamentals.
Lighting is everything.
You can have the most expensive camera in the world, but if your lighting is bad, your photo will be bad.
Natural light is your best friend and it’s free. Shoot near windows during the day, avoid harsh midday sun, and embrace golden hour (the hour after sunrise and before sunset) for that warm, dreamy glow. If you’re shooting indoors at night, invest in a ring light or softbox—they’re affordable and game-changing.
Here are my lighting recommendations >>>
Composition makes or breaks your image.
The rule of thirds is your starting point: imagine your photo divided into a 3×3 grid, and place your subject along those lines or at the intersections. This creates visual interest instead of centering everything (which can look static and boring).
However if you do want to center your subject, put them smack dab in the middle grid.
Negative space gives your subject room to breathe, so make sure you’re far away enough to allow space on all sides of your subject.
Also, perspective and angles add dimension—shoot from above for flat lays, get low for dramatic effect, or shoot at eye level for authenticity.
Consider colour theory.
Creating a cohesive colour palette for your page makes your content instantly recognizable. Choose 3-5 colours that complement each other and stick to them. Complementary colours (opposite on the colour wheel) pop. Analogous colours (next to each other) work together in harmony.
Remember: colours evoke emotions: blues feel trustworthy and calm, reds create urgency and passion, yellows feel optimistic and energetic, greens represent growth and health. Use this psychology intentionally!
Equipment and Tools
Let’s talk about what you actually need versus what people think you need.
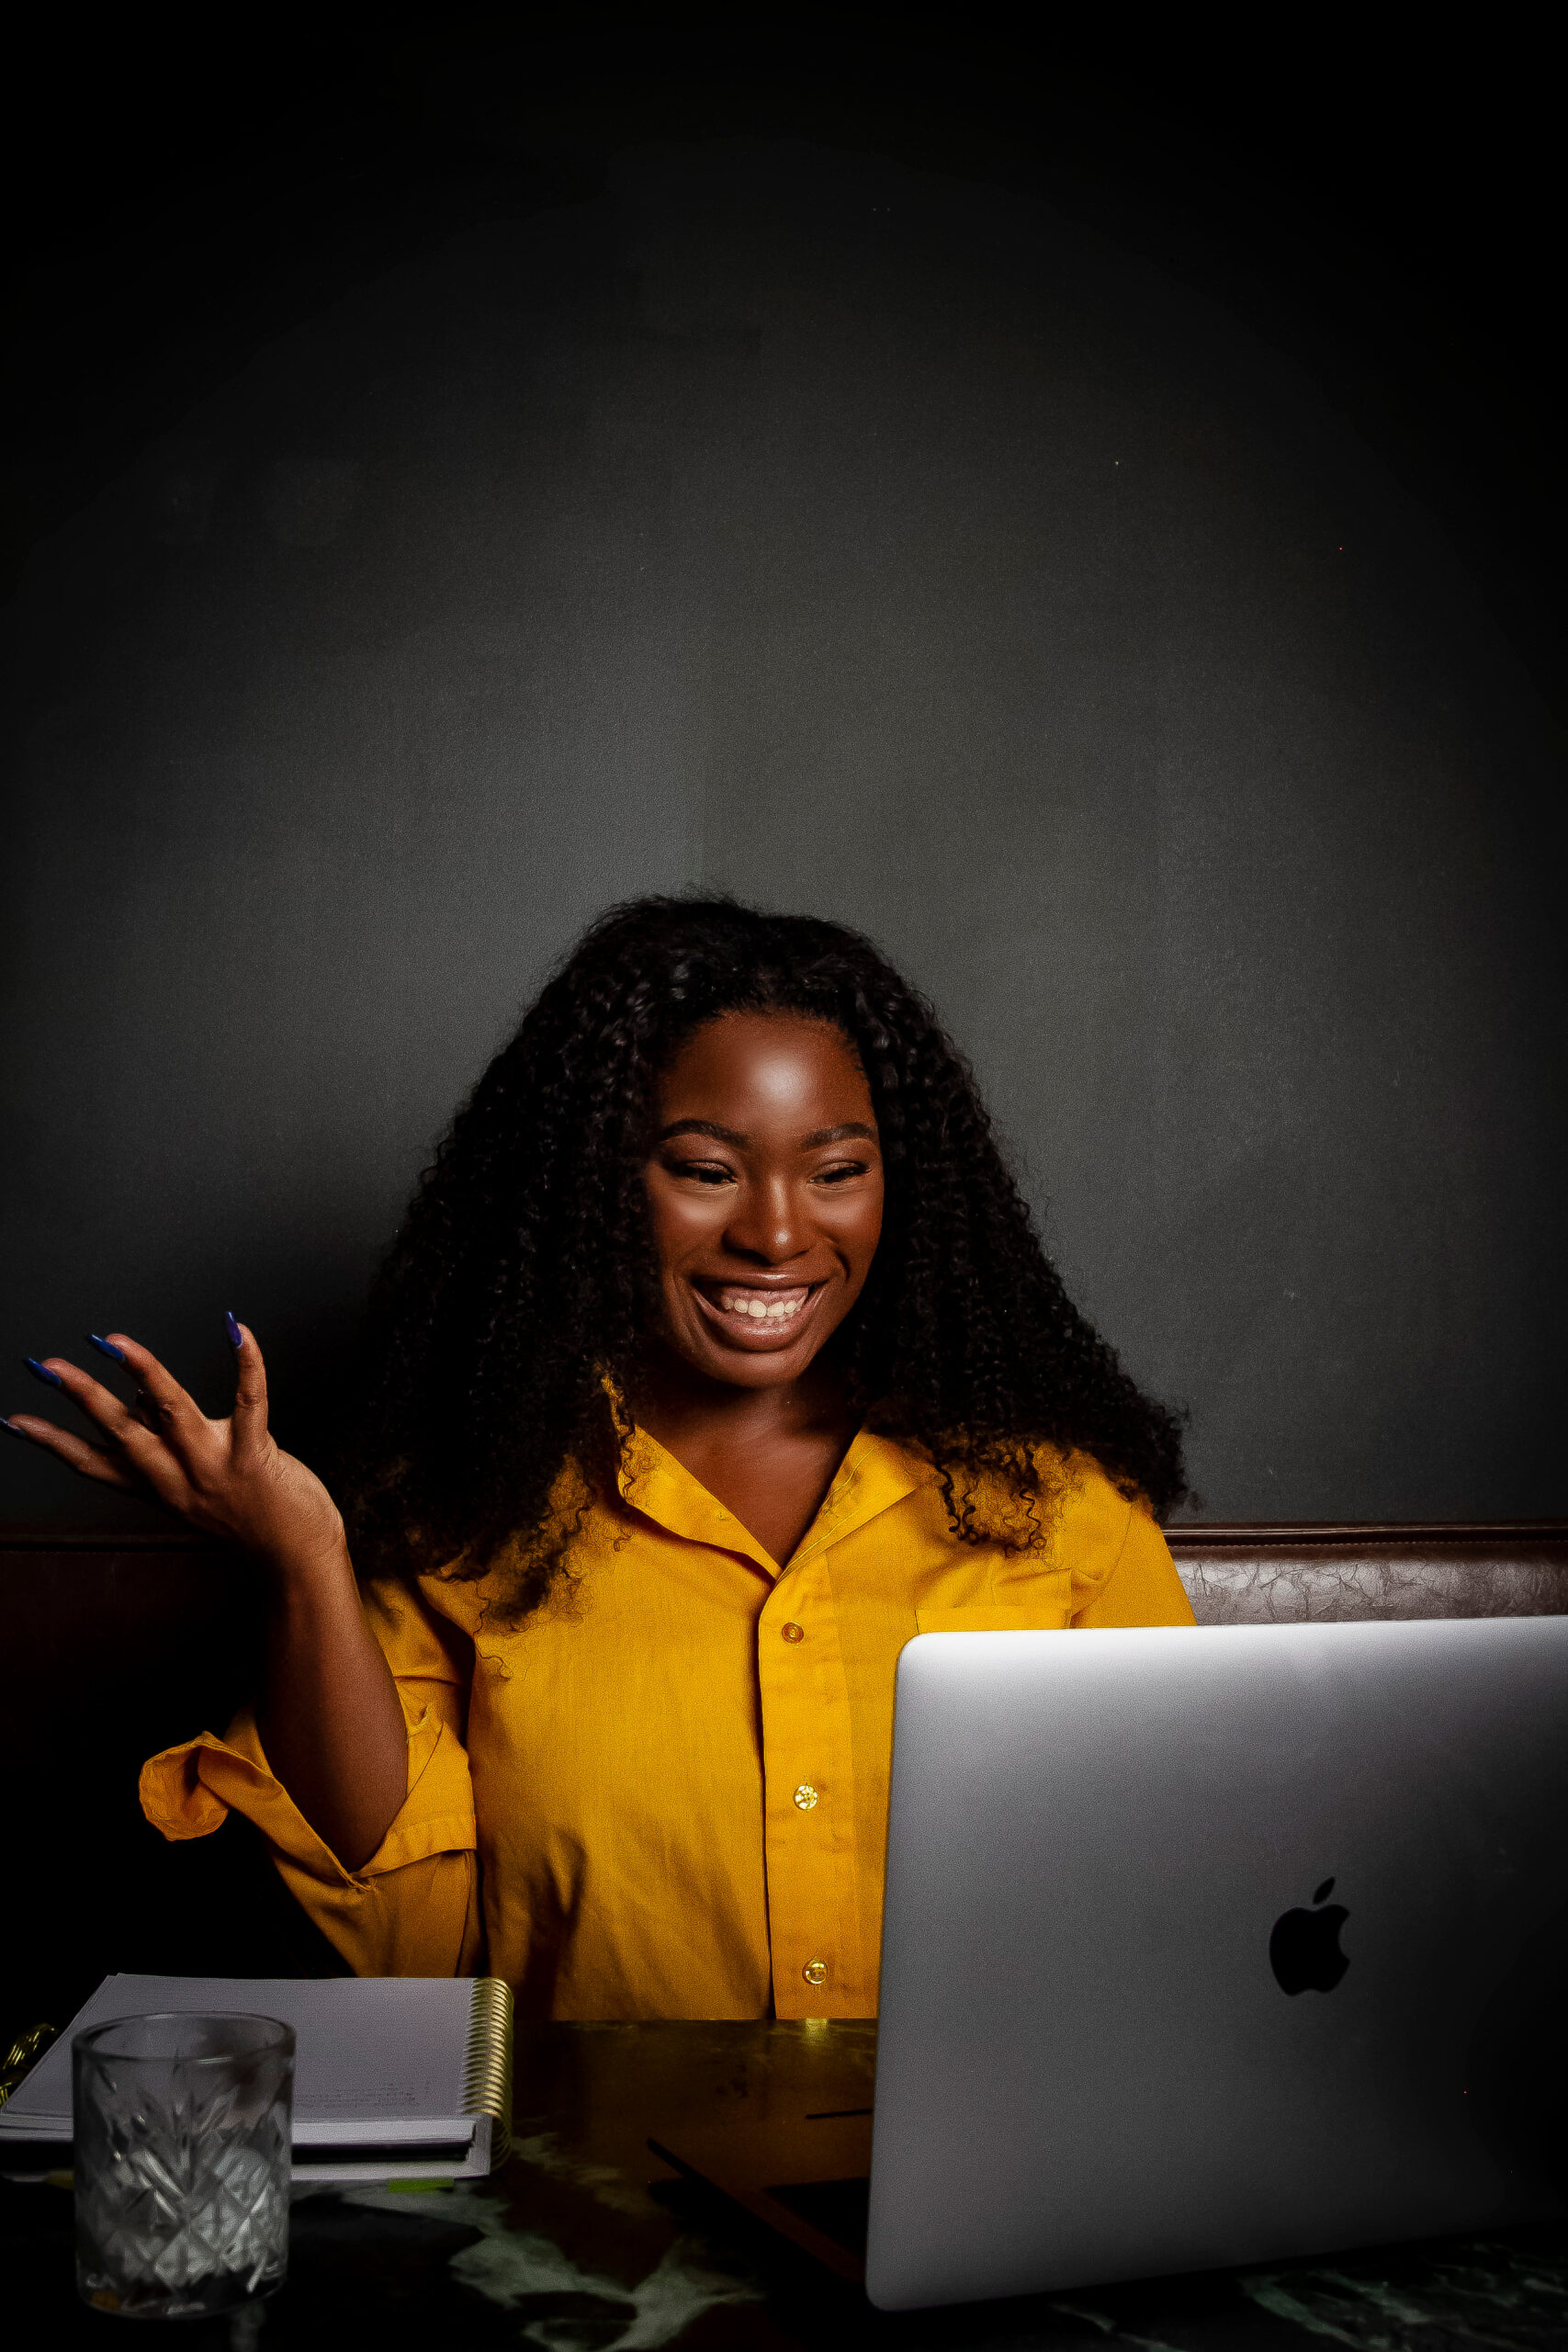
Your smartphone is probably enough. Modern smartphones have incredible cameras—often better than budget DSLRs. The iPhone 17 Pro—from what I’ve seen having this phone myself—can shoot professional-quality photos if you know how to use them properly.
When should you upgrade? When you’re consistently maxing out your phone’s capabilities and your content quality is limiting your business growth. For most creators and business owners, that day may never come. For me? I kept getting that dreaded “Insufficient Storage” pop-up, and my phone kept glitching and force quitting apps when I was using them, so I knew it was time for an upgrade.
Essential smartphone accessories worth investing in:
- A tripod (for stability and hands-free shooting)
- Clip-on lighting
- A gimbal or stabilizer if you shoot a lot of video
Here are the smartphone accessories I recommend for content creation >>>
However if you do need more than a smartphone, I personally recommend the DJI Osmo Pocket 3—it’s a great mobile camera with a lot of capabilities:
- Built-in gimbal
- Simple switching from landscape to vertical video
- Easy to flip the camera from your POV to facing you
- A mobile app that makes downloading footage easy, and more!
Editing is where the magic happens.
I personally edit my photos in the iPhone photo album, and use Canva or Capcut for text overlays and creating graphic. Though I know that Lightroom Mobile is another good option because it’s free, powerful, and syncs across devices. VSCO is also great because it offers beautiful filters and an easy-to-use interface.
For desktop editing, Photoshop is good but has a steeper learning curve. Canva Pro works great for graphics and simple photo edits (though I may be biased because that’s my go-to tool).
Photo Types & Ideas
Not all photos serve the same purpose. Understanding different content types helps you diversify your feed and serve your audience better.
Product photography is essential if you’re selling anything or want to get influencer collabs with product brands. Flat lays (shooting from directly above) work really well for styled product shots—think aesthetic desk setups, coffee and your product, thoughtfully arranged items.
Lifestyle shots show your product in use, which helps customers envision themselves using it.
Make sure to always show scale and context so people understand what they’re looking at.
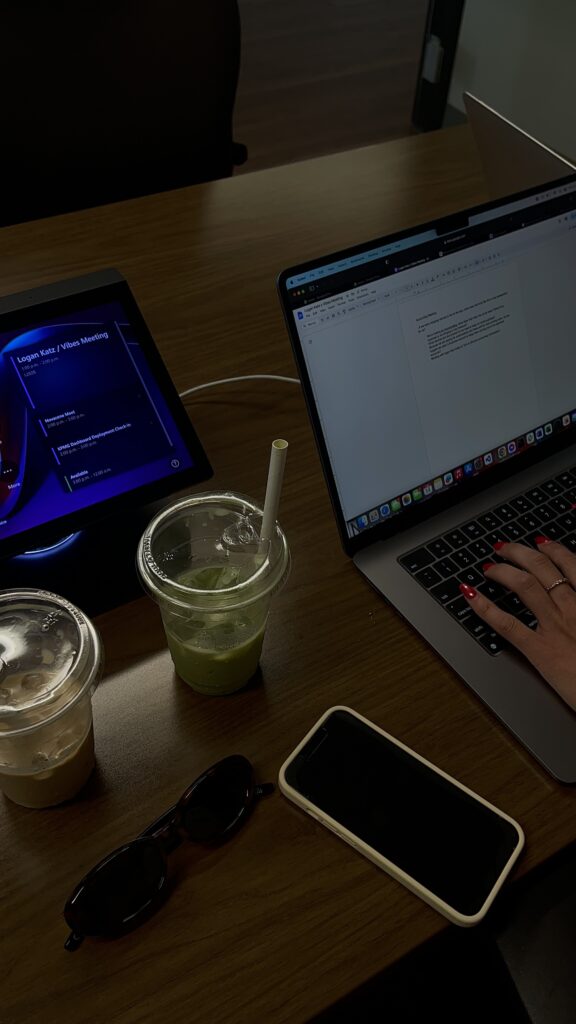
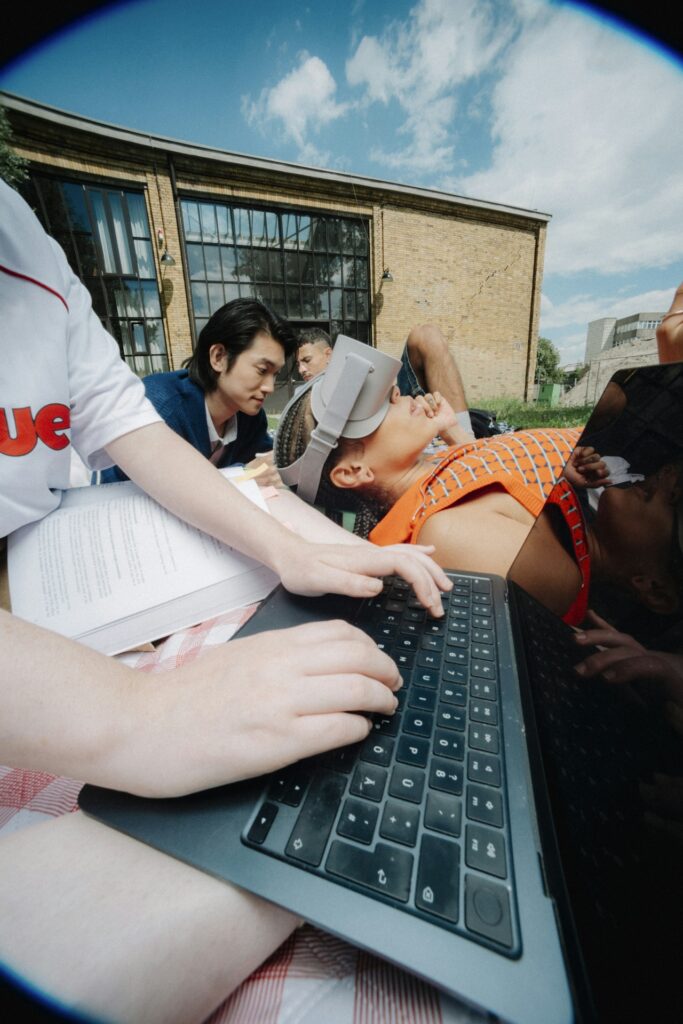
Behind-the-scenes photos humanize your brand. Show your workspace, your process, your team. People want to see the real you, not just the polished final product. These photos build trust and connection.
User-generated content is gold. When customers share photos of your product or service, repost them (with permission and proper credit). This is social proof AND makes your customers feel valued. Create a branded hashtag and encourage people to use it!
Infographics and text-based images are great for educational content. Use readable fonts, create clear hierarchy, and balance text with visual interest. Have fun with it—if you like the junk journal vibe, all power to you—but don’t overcrowd. White space is your friend!
Platform-Specific Photo Tips
Each platform has its quirks, and optimizing for them improves your performance.
Instagram feed photos work best at 1080×1080 (square), 1080×1350 (portrait), or 1080×566 (landscape). Carousels (swipeable posts) get more engagement than single images. Plan your grid aesthetically using tools like Later.com or HeyOrca—I know “never judge a book by it’s cover” is part of our collective canon, but first impressions DO matter when someone lands on your profile.
Pinterest graphics need to be vertical—ideally 1000×1500 pixels or a 2:3 ratio. Text overlays are crucial because people search Pinterest like Google. Create pin-worthy thumbnails that stand out in a sea of vertical images.
LinkedIn professional photos should balance professionalism with personality. High-quality headshots matter here more than anywhere else. And industry-appropriate photos (i.e., office settings, professional events, thought leadership visuals) do better than casual content.
Best Practices
- Save your images in the highest quality possible—Instagram compresses enough already. Use PNG for graphics with text, and JPEG for photos.
- Avoid over-editing. If your skin looks plastic or your colours look radioactive, you’ve gone too far.
- Always write alt text and image descriptions. This makes your content accessible to people using screen readers AND helps with SEO.
- Respect copyright. Use your own photos, get photos from free stock websites (i.e., Dupe Photos, Unsplash, Pexels), purchase stock photos from reputable sites (i.e., Death to Stock), or hire a photographer. NEVER steal someone else’s work.
- This is a biggie: batch your content. Dedicate one day to shooting multiple photos, then edit them all at once. This is so much more efficient than creating content daily.
Wrapping It Up
I hope this blog post helped you! If you want to step up your content game in 2026, grab my Content Creator Mini Course, Hub, & Idea Vault!
This Notion-based resource has:
- Videos, worksheets, and walkthrough guides on every step of the content creation process
- A swipe file of hooks and storytelling frameworks
- A constantly-updating content & series idea vault for creators and business owners in almost every niche
- A content planner & scheduler template that makes plotting the month of content ahead SUPER easy
- A shot list & video production template that make shooting long-form & short-form content seamless
- Guidance on analyzing and optimizing your content performance
- Canva templates for you to customize your Notion resource